
For those who want to use “Git” on Windows OS, we will also explain how to download and install the GUI tool “SourceTree” of “Git”, and clone the local repository of “GitHub”. To use “SourceTree”, you need to install “Git” and “Mercurial”, but you can also use “Git” built into “SourceTree”. In this column, we will assume that the installation of “Git” has been completed.
If you want to install “Git” and check the basic operation, please refer to the related article below and install it.
table of contents
- 1. What is “SourceTree”?
- 2. Download “SourceTree”
- 3. Install “SourceTree”
- 4. Clone the remote repository on “GitHub”
1. What is “SourceTree”?

SourceTree ” is a GUI client of the version control system ” Git ” provided by Atlassian . This column describes the Windows OS version, but it can also be used on a “Mac”. It is a free software that supports not only “Git” but also ” Mercurial “.
2. Download “SourceTree”
Now, let’s download the installer from the official page of “SourceTree”.
SourceTree Official Page: https://ja.atlassian.com/software/sourcetree
● SourceTree
Click the “Download for free” or “Download for Windows” button and save “SourceTreeSetup-1.10.20.1.exe” to any location on your PC.
● SourceTreeSetup-1.10.20.1.exe

3. Install “SourceTree”
3.1. Install
Double-click the saved executable file “SourceTreeSetup-1.10.20.1.exe” to start the installation.
● [Install -License agreement]
After confirming the “License Agreement”, check the ” I accept the license ” check box and click the ” Continue ” button.
● [Atlassian account] –Log in to your Atlassian account
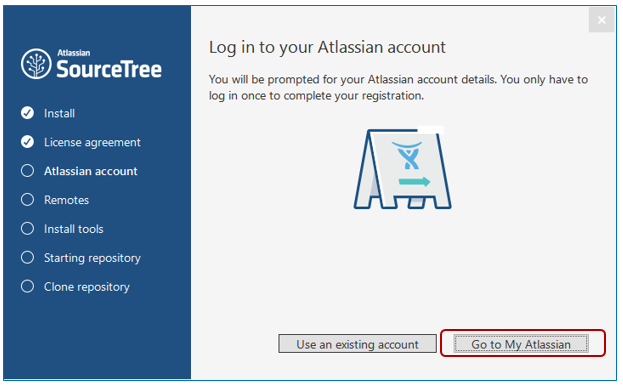
If you have an Atlassian account, click “Use an existing account” to continue. If you don’t have an account , click Go to My Atlassian .
3.2. Creating an Atlassian account
To use “SourceTree”, you need to create an “Atlassian” account.
● Browser display (My Atlassian)
Your browser will launch and you will be taken to the login page for “My Atlassian”. Click the ” Need an account? Sign up. ” Link under the “Next” button to start account registration.
● Browser display “Welcome to My Atlassian”
Enter your Email address, Full name, and Choose a password on the Atlassian account registration page (Welcome to My Atlassian) and go to “I’m not a robot.” Check it. A question will be displayed confirming that you are not a robot. Follow the instructions and press the “Confirm” button.
After confirming the “Customer Agreement” and “Privacy Policy”, click the ” Sign up ” button.
● Browser display “My Atlassian”
A confirmation email will be sent to the registered email address, so check the email.
● Plese verify your email address
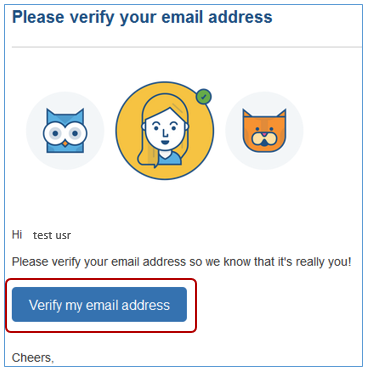
Click ” Verify my email address ” in the body of the email to complete the verification of the email.
● View browser (Manage your account)
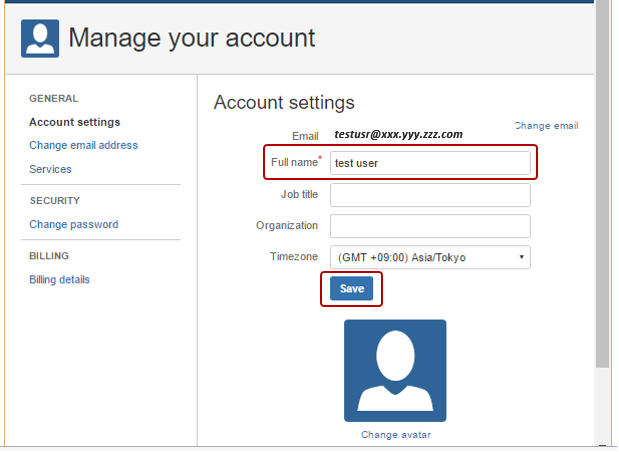
The browser will launch and the Account settings page will open. The only required item is your full name. After entering the required information, press the ” Save ” button to proceed to the next step. You can close the browser.
3.3. Log in to MY Atlassian
Now that you have registered your Atlassian account, log in with your registered user account.
● [Atlassian account] –Log in to your Atlassian account
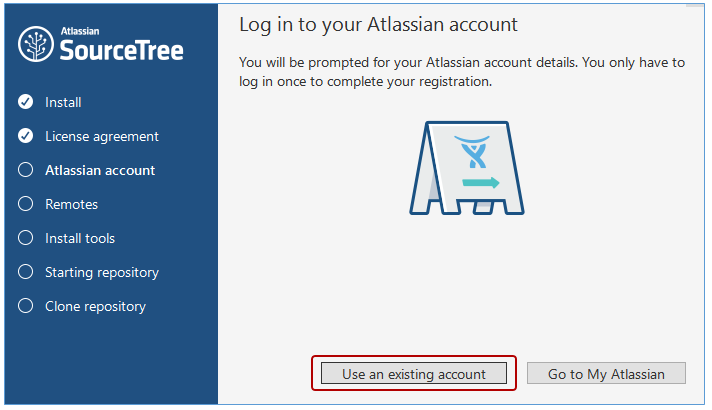
Go back to the SourceTree installer and click Use an existing account .
● Login to “Atlassian”
The Atlassian login screen will be displayed. Enter the “email address”, “name” and “password” you registered earlier and click the ” Sign up ” button.
● [Atlassian account] –Registration Complete!
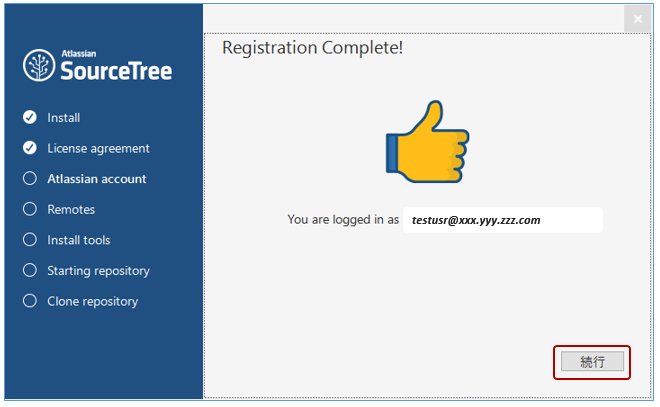
When the message “Registration Complete!” Appears, the account registration for “SourceTree” is complete. Click the ” Continue ” button to continue the installation process.
3.4. Log in to GitHub
Next is the remote server settings. If you have a “Bitbucket” or “Gitthub” account, you can clone an existing repository. This time, let’s set up the connection with the “GitHub” account. If you have not created an account, you can skip this step and click the “Skip” button to complete the installation (go to ” 3.8. Launching SourceTree” ). * For information on creating a “GitHub” account, please refer to
the related article ” Introduction to GitHub-How to create an account- “.
● [Remotes] –Connect an Account
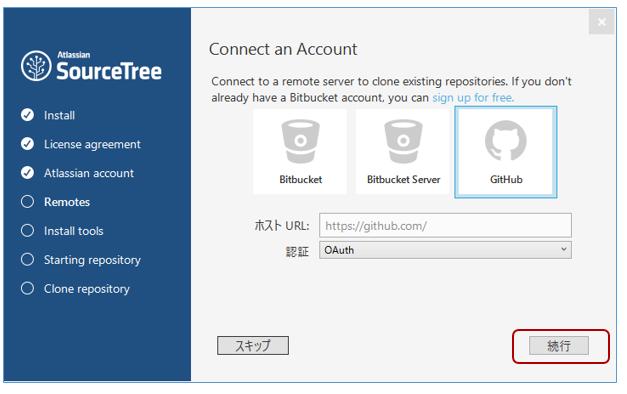
If you have a “GitHub” account, click the ” Continue ” button.
● Browser display (GitHub login)
The browser will start up and the “GitHub” login screen will be displayed. Enter your user name (email address) and password and click the ” Sign in ” button.
● Browser display (Authorize application)

A page (Authorize application) for confirming the access right from “Source tree” will be displayed. Check the access right for each item and click the “Authorize application” button.
● Show browser (Confirm password)
The password entry page will reappear. Enter your GitHub account password and press the Confirm password button to proceed to the next step.
● Browser display (Authentication Successful)
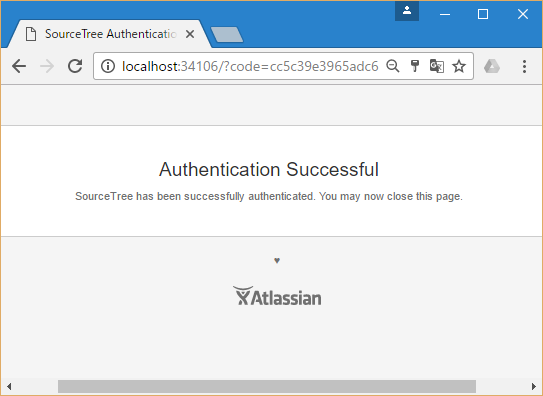
When the “Authentication Successful” page is displayed, the remote setting of the “GitHub” account is complete. Close your browser and return to the “Sorcetree” settings.
You can download and install the version control system “Mercurial” in the installation settings of the following tools, but this time we will use “Git” and “GitHub”, so this step will be omitted.
● [Install tools]-Download version control system
Click the ” Skip ” button.
3.5. Global Ignore Configuration File Settings
● Global ignore configuration file
A confirmation window will appear asking if you want to create a global ignore configuration file, select No. It is a setting to specify files to be excluded from Git management, but there is a possibility that unintended files will also be excluded. I chose not to create this time because I can set it later as it is in the message. Let’s set it after learning the operation of “Sorce tree” and “Git” to some extent.
3.6. Remote repository clone settings
It is a setting to clone the “remote repository” of the “GitHub” account registered earlier. A list of repositories registered on “GitHub” will be displayed.
● [Starting repository-Clone repository] –Clone GitHub repository
In the next chapter, we will register a new remote repository from “Sorcetree”, so we will skip this step. Click the ” Skip ” button.
* If you want to clone here, select the remote repository, specify the local working folder in “Destination path:”, and then click Continue.
3.7. SSH key read settings
A message window asking whether to read the “SSH key” is displayed.
● Read SSH key
You can set the SSH key later, so select ” No “.
3.8. Check for SourceTree updates
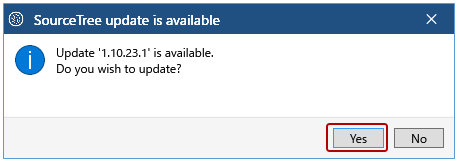
When the “SourceTree” update appears, select ” Yes ” to update the software.
● Source Tree update
3.9. Launch SourceTree
When all the settings are completed, “SourceTree” will start.
● Launch SourceTree
The “Source Tree” icon has been registered on the desktop.
● SourceTree icon

4. Clone the remote repository on “GitHub”
4.1. Create a new / clone
Now, let’s clone the remote repository of “Github” that was skipped during installation. Clone is a repository, which is the operation of locally replicating a repository on a remote server.
If you have not created a repository on “GitHub” , please refer to the related article ” Introduction to GitHub-How to create an account- ” to create a repository before proceeding.
● Create a new / clone
Launch “SorceTree” and click the ” New / Clone ” button.
4.2. Open a project on GitHub
Open the GitHub project you want to clone.
● Clone Repository tab
Click the globe icon (open hosted project) to the right of [Original path URL:] on the Clone Repository tab.
● Hosted repository
You can check the repository of “GitHub” from “Hosted Repository”. Select the repository to clone and click the ” OK ” button.
4.3. Set the save destination path
Set the local working directory in “Destination path:”.
● Clone repository
Enter the bookmark name in [Name:] of [Bookmark] and click the “Clone” button.
4.4. Enter user information
Enter the user information associated with the commit and click the ” OK ” button.
● Enter user information
Replace “full name” and “email address” with your own.
● Repository clone
The selected GitHub remote repository has been bookmar
